Step-by-Step Solar Installation Guide for Beginners
Solar energy
has become one of the most reliable and sustainable sources of power in the
modern world. With rising electricity costs and frequent power outages in many
regions, especially across Africa, more homeowners and businesses are turning
to solar energy systems to provide consistent and affordable electricity.
For
beginners, understanding the solar installation process can feel overwhelming.
There are multiple components, calculations, and safety considerations
involved. However, once you understand the steps involved, installing a solar
power system becomes much clearer and easier to manage.
This guide
explains the step-by-step solar installation process for beginners,
helping you understand how solar systems are designed, installed, and connected
to power your home or business.
Understanding
How Solar Power Systems Work
Before
diving into installation, it is important to understand how a solar energy
system works.
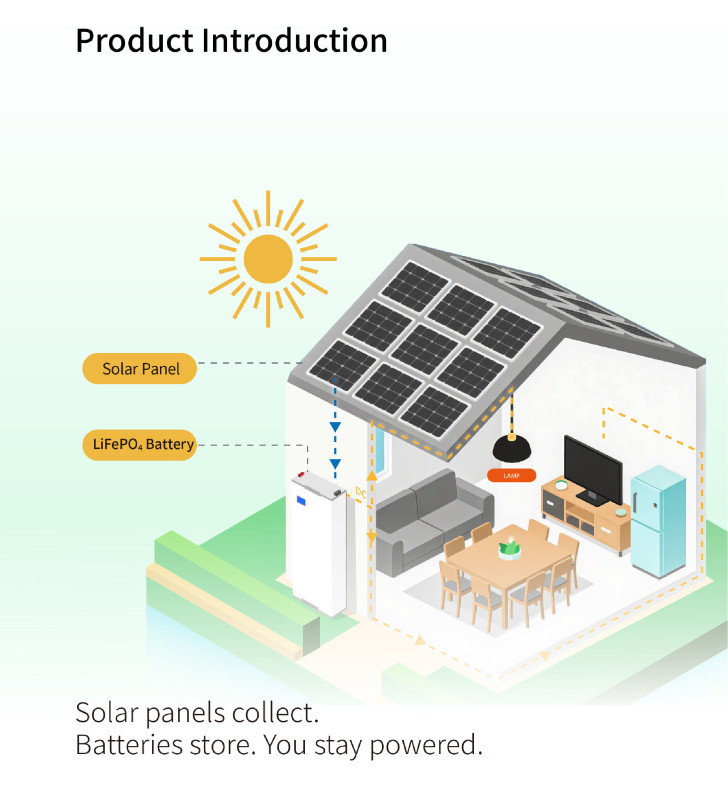
A solar
power system captures sunlight through solar panels, converts it into
electricity, and then distributes that electricity to power appliances.
The basic
flow works like this:
1.
Solar
panels capture sunlight and convert it to DC (Direct Current) electricity.
2.
The
solar inverter converts DC electricity to AC (Alternating Current).
3.
The
electricity powers household or commercial appliances.
4.
Excess
electricity may be stored in batteries for later use.
This process
allows homes and businesses to generate clean energy independently from
traditional power grids.
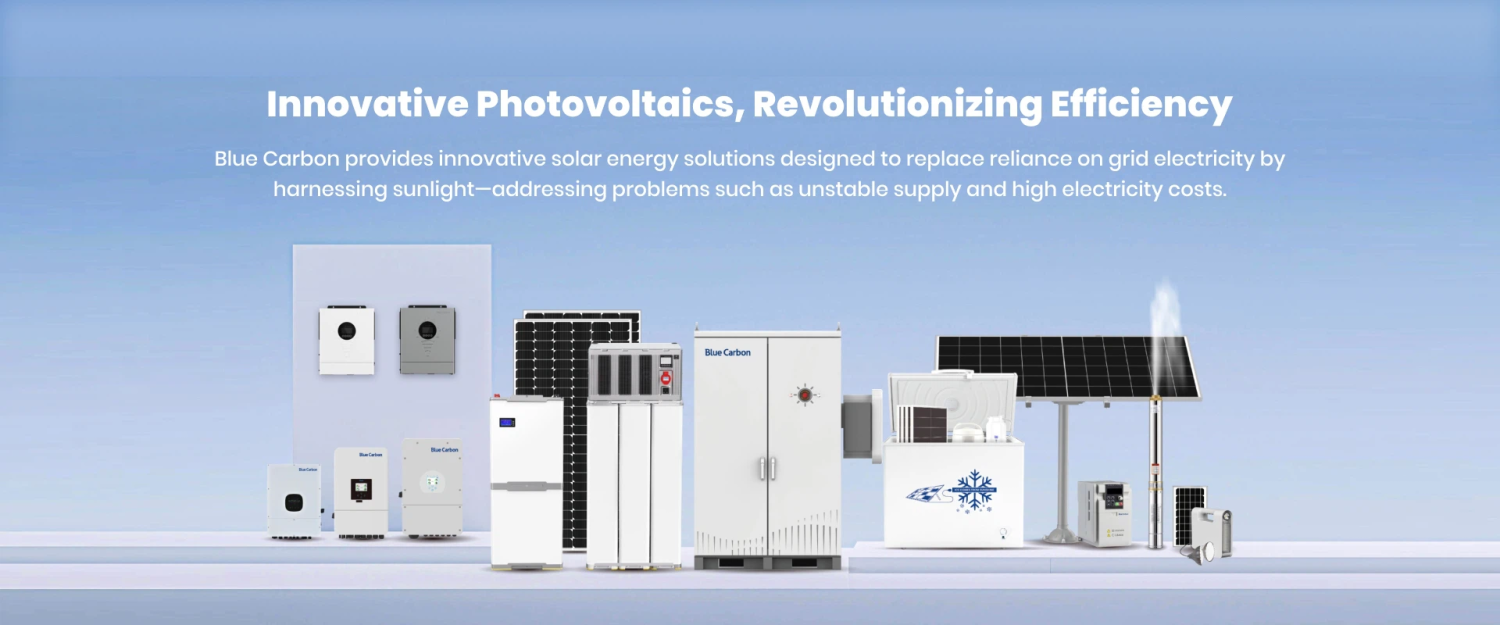
Key
Components of a Solar Power System
Before
installation begins, you must understand the major components involved in a
solar setup.
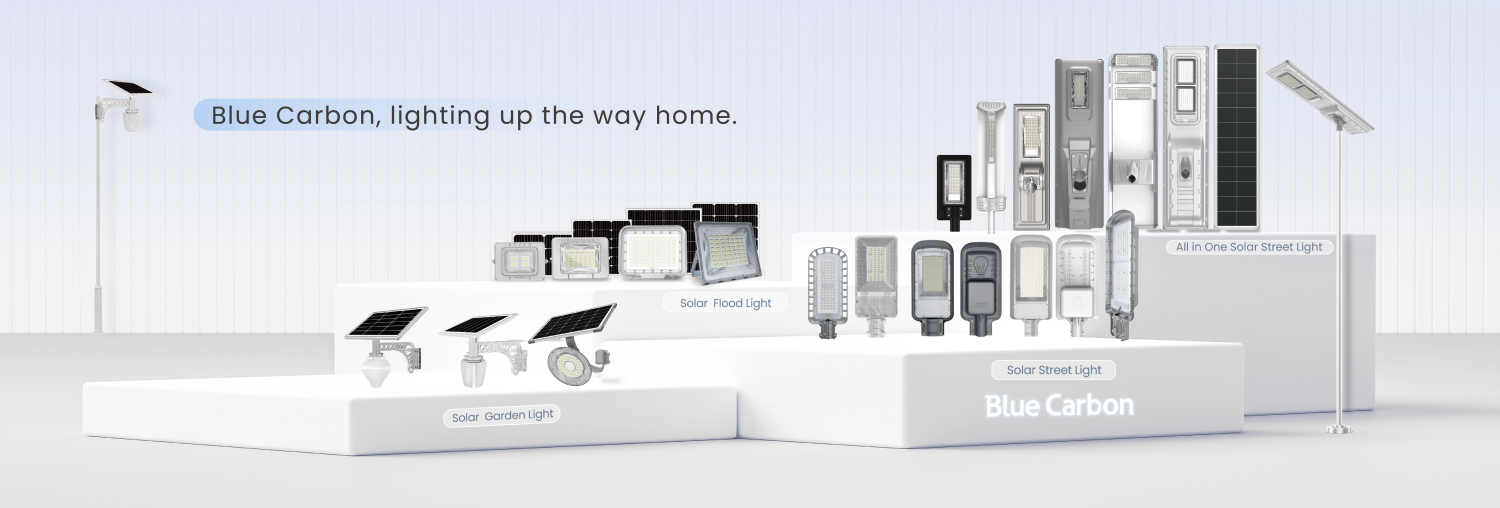
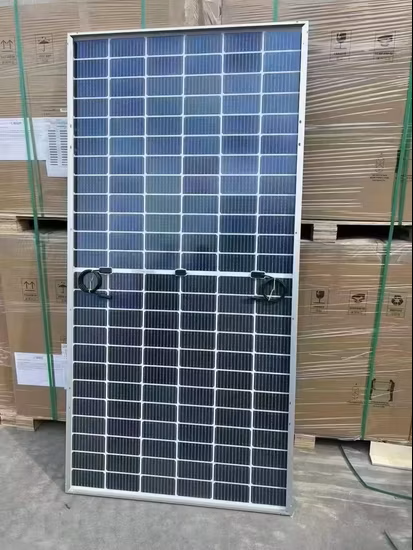
1. Solar
Panels
Solar panels
are responsible for capturing sunlight and converting it into electricity using
photovoltaic cells. The number of panels required depends on your energy needs.
2. Solar
Inverter
The inverter
converts DC electricity produced by the solar panels into AC electricity, which
can be used by household appliances.
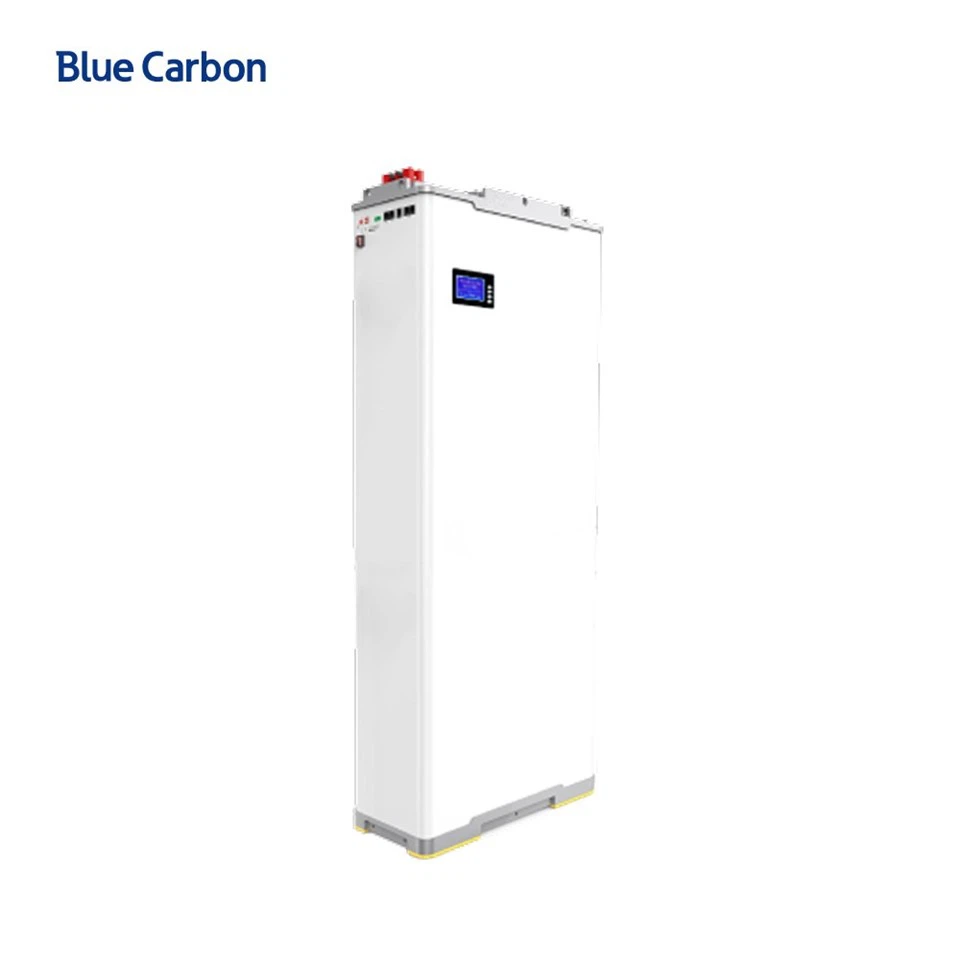
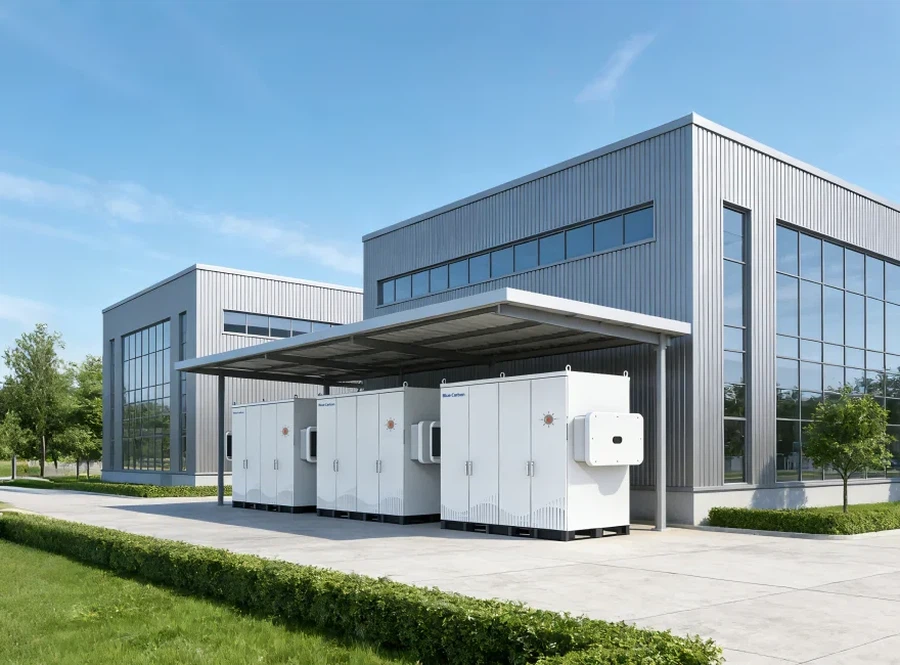
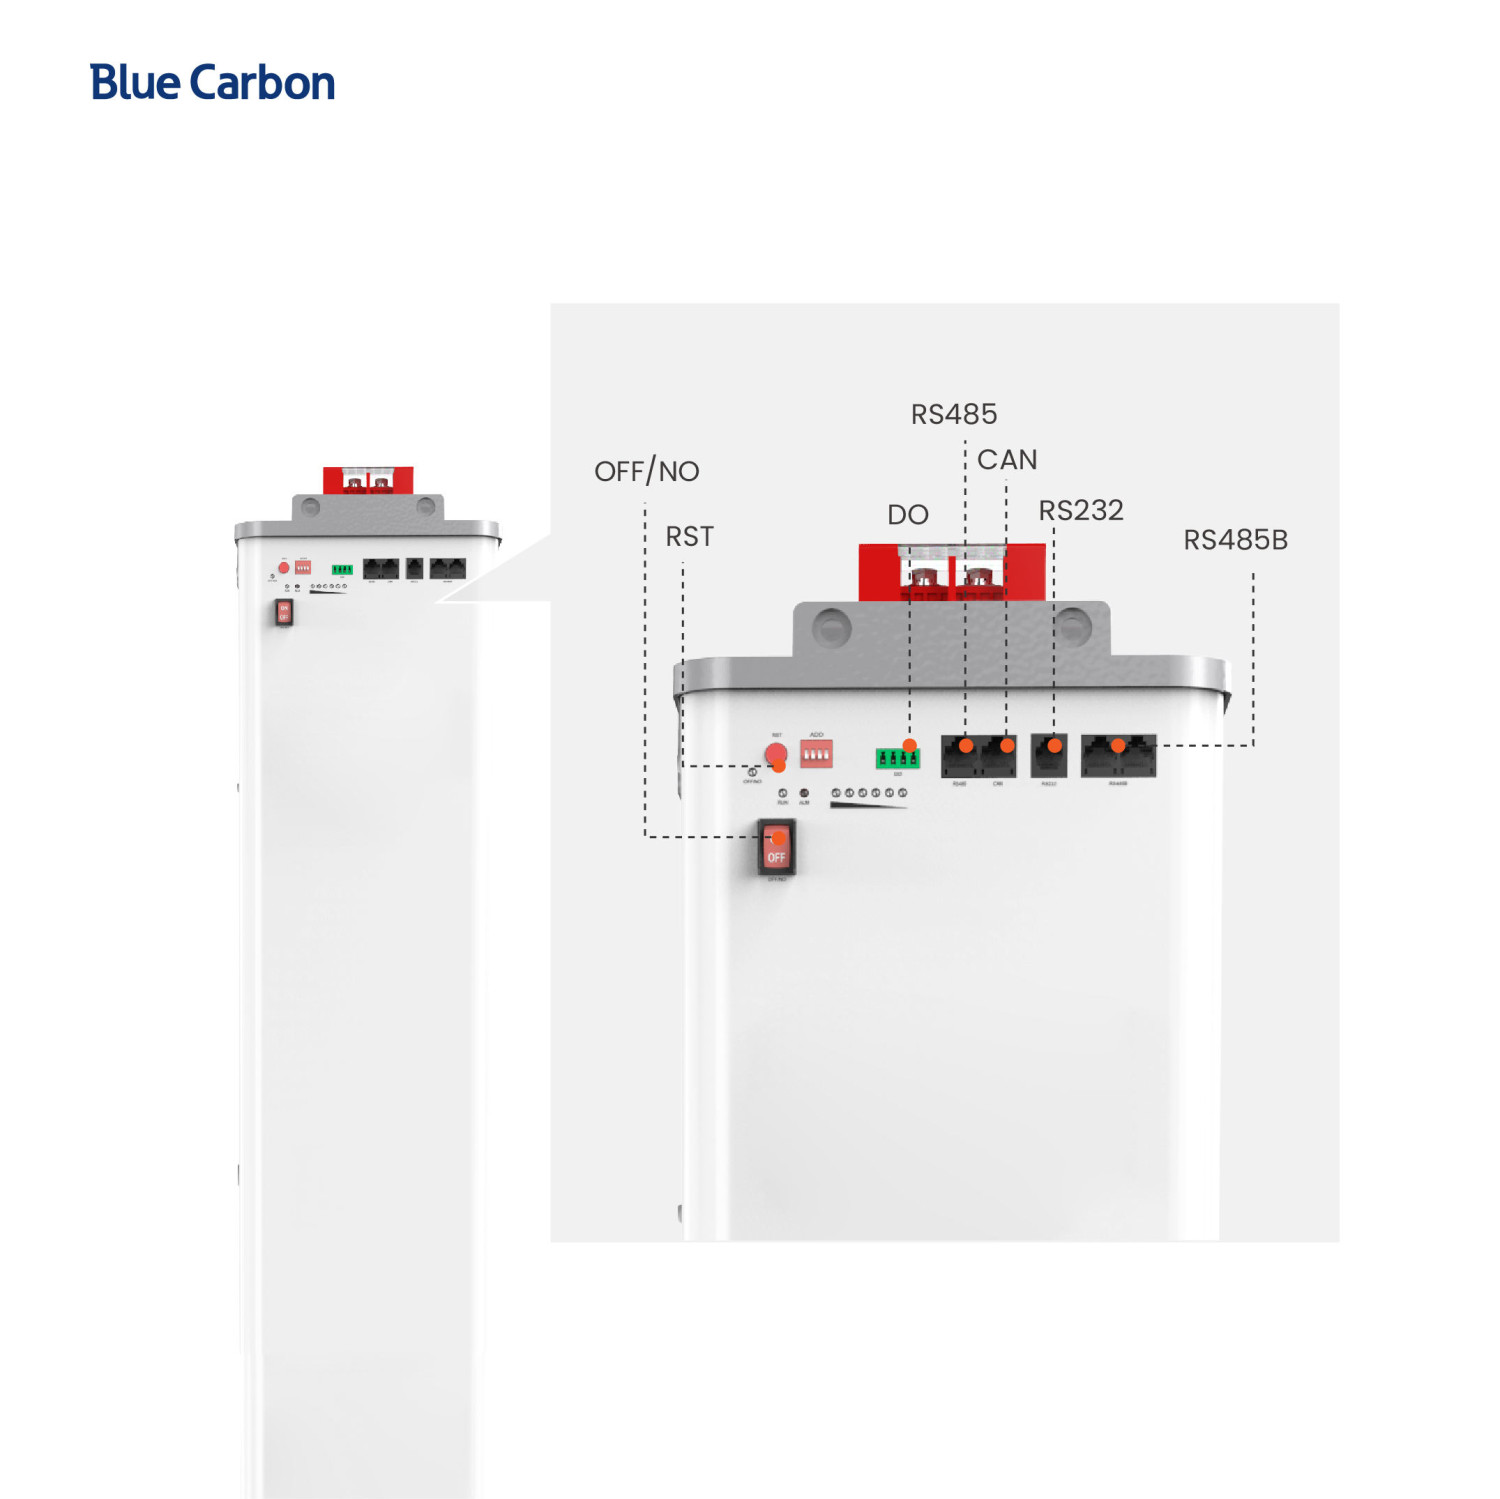
3. Solar
Batteries
Solar
batteries store excess electricity generated during the day so it can be used
at night or during power outages.
4.
Mounting Structure
Mounting
structures hold the solar panels securely on rooftops or ground installations.
5.
Electrical Cables
Properly
sized cables connect all system components while ensuring safe energy transfer.
6.
Protection Devices
Components
such as circuit breakers, surge protectors, isolators, and earthing systems
protect the system from electrical faults.
Understanding
these components helps beginners visualize the installation process more
easily.
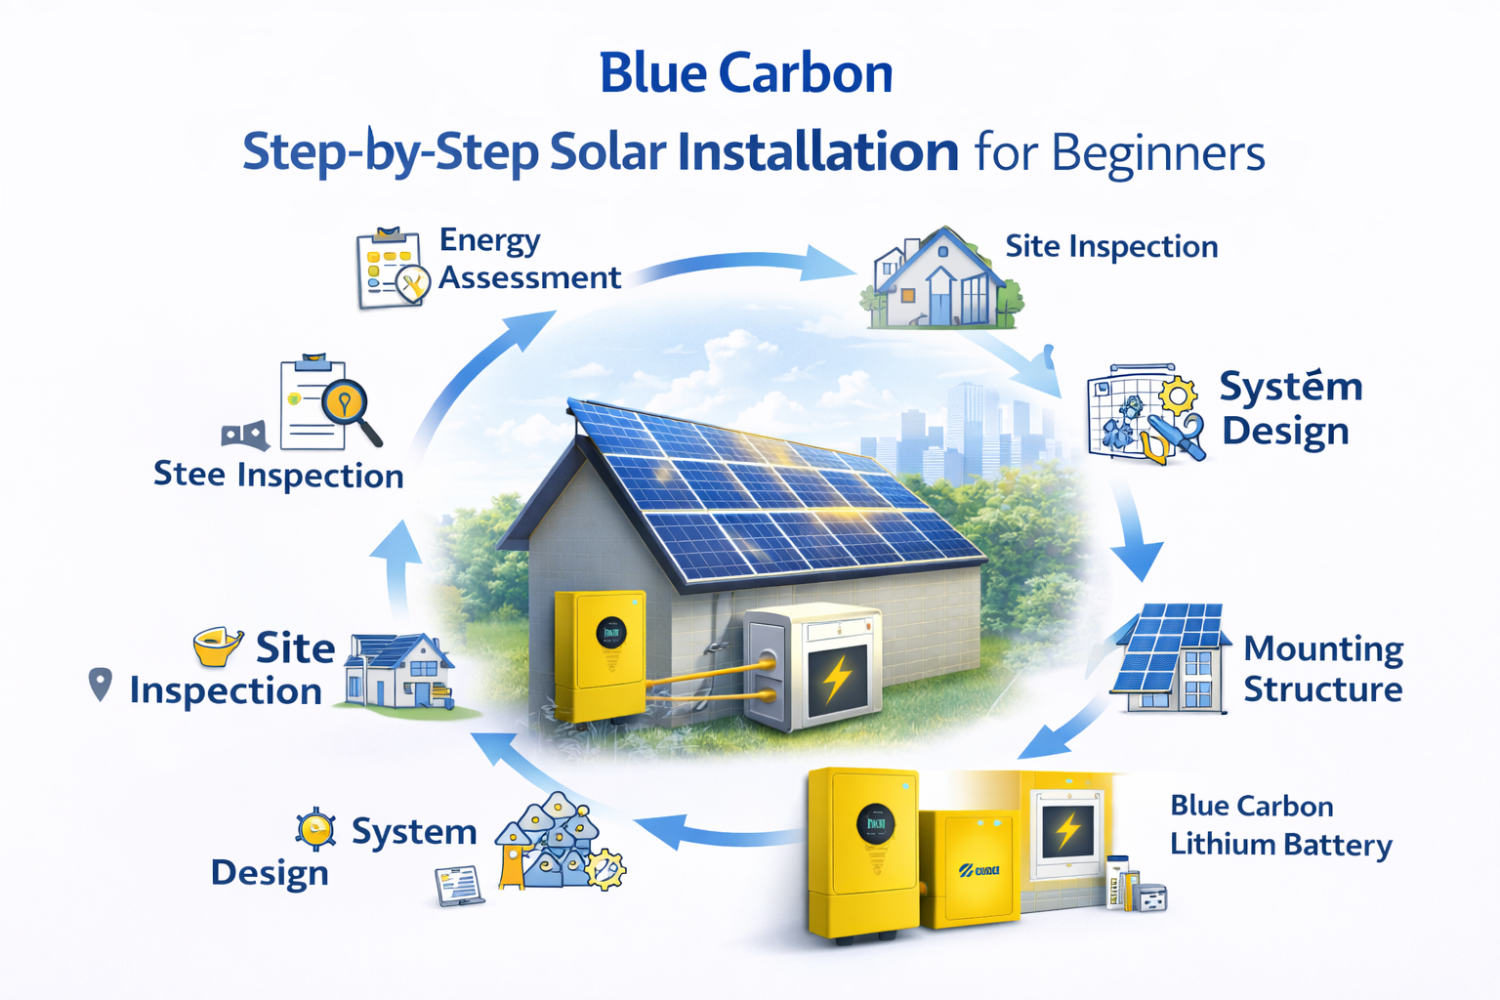
Step-by-Step
Solar Installation Process
Below is a
simplified step-by-step process for installing a solar power system.
Step 1:
Energy Assessment and Load Calculation
The first
step in solar installation is determining how much electricity you need.
This process
is called load analysis.
You must
list all appliances you intend to power with solar energy, including:
- Lights
- Televisions
- Refrigerators
- Air conditioners
- Computers
- Water pumps
Each
appliance has a wattage rating. By calculating total daily energy consumption,
you can determine:
- Required solar panel capacity
- Inverter size
- Battery storage capacity
Accurate
load calculation prevents under-sizing or oversizing the system.
Step 2:
Site Inspection
After
calculating energy needs, the next step is conducting a site survey.
A solar
installer checks the installation location to determine:
- Roof condition
- Sun exposure
- Direction and tilt of the roof
- Shading from trees or buildings
- Space availability for batteries
and inverters
Solar panels
work best when facing areas with maximum sunlight exposure.
Step 3:
System Design
Once the
site inspection is completed, the installer designs the solar system.
System
design includes:
- Number of solar panels required
- Panel arrangement layout
- Battery capacity
- Inverter size
- Cable routing plan
- Protection equipment placement
A
well-designed system ensures efficiency, safety, and long-term performance.
Step 4:
Mounting Structure Installation
The mounting
structure is installed on the roof or ground before placing solar panels.
These
structures are typically made of aluminum or galvanized steel to resist
corrosion.
Proper
mounting ensures:
- Panels remain stable during
strong winds
- Correct tilt angle for maximum
sunlight
- Long-term durability
Installers
must ensure the mounting structure is firmly secured to prevent damage.
Step 5:
Solar Panel Installation
After the
mounting frame is secured, the solar panels are installed.
The panels
are carefully placed on the mounting structure and fixed using clamps or bolts.
During this
stage installers ensure:
- Panels are aligned correctly
- No shading occurs between panels
- Panels are properly secured
Correct
panel placement maximizes energy production.
Step 6:
Electrical Wiring and Connections
Electrical
wiring connects the solar panels to the inverter and other system components.
This stage
involves:
- Connecting solar panels in
series or parallel
- Installing DC cables
- Connecting cables to the
inverter
- Installing isolators and
breakers
Proper cable
sizing is critical to avoid energy losses or overheating.
Professional
installers also ensure that cables are protected and organized to prevent
damage.
Step 7:
Inverter Installation
The solar
inverter is usually installed indoors or in a shaded location.
During
installation:
- DC cables from solar panels
connect to the inverter
- AC output connects to the
building’s distribution board
- Safety breakers and isolators
are installed
The inverter
plays a critical role because it converts solar electricity into usable
household power.
Step 8:
Battery Installation (Optional but Recommended)
If the
system includes battery storage, batteries are installed after the inverter.
Batteries
store unused electricity produced during the day so it can be used at night.
This is
especially important in regions with frequent power outages.
Benefits of
solar batteries include:
- Backup power during blackouts
- Increased energy independence
- Reduced reliance on generators
Modern lithium
batteries are widely preferred because they last longer and require less
maintenance.
Step 9:
Earthing and Safety Protection
Safety is
extremely important in solar installations.
Proper
earthing protects the system from lightning strikes and electrical faults.
Installers
typically include:
- Grounding rods
- Surge protection devices
- Circuit breakers
- DC and AC isolators
These safety
measures ensure long-term system reliability.
Step 10:
Testing and System Commissioning
Once
installation is complete, the system must be tested.
Installers
verify:
- Voltage levels
- Cable connections
- Inverter operation
- Battery charging performance
The system
is then switched on and monitored to confirm it works properly.
Once testing
is complete, the solar system is ready for use.
Benefits
of Installing a Solar Power System
Solar energy
provides numerous benefits for homeowners and businesses.
1.
Reduced Electricity Bills
Solar power
reduces dependence on grid electricity, helping users save significantly on
energy costs.
2.
Reliable Power Supply
Solar
systems provide consistent electricity, especially when paired with battery
storage.
3.
Environmental Sustainability
Solar energy
is a clean and renewable energy source that reduces carbon emissions.
4. Low
Maintenance
Solar
systems require minimal maintenance once installed.
5.
Increased Property Value
Homes and
businesses with solar systems often have higher market value
Maintenance
Tips for Solar Systems
To keep a
solar system performing efficiently, regular maintenance is recommended.
Important
maintenance practices include:
- Cleaning solar panels regularly
- Checking electrical connections
- Monitoring inverter performance
- Inspecting battery health
- Removing debris or shading
objects
Professional
servicing once or twice a year helps maintain system efficiency.
Why
Professional Solar Installation Matters
Although
understanding the process is helpful, solar installation should always be
handled by qualified professionals.
Experienced
installers ensure:
- Proper system design
- Safe wiring
- Correct cable sizing
- Compliance with electrical
standards
- Maximum system efficiency
Professional
installation also protects warranties and ensures long-term reliability.
Final
Thoughts
Solar power
is transforming how homes and businesses generate electricity. With the rising
cost of energy and the need for sustainable solutions, solar energy has become
an excellent investment for the future.
Understanding
the step-by-step solar installation process helps beginners appreciate
how solar systems work and why proper design and installation are important.
From energy
assessment and panel mounting to inverter installation and system testing,
every stage plays a critical role in ensuring efficient solar power generation.
By working
with experienced solar installers and using high-quality components, you can
enjoy reliable, clean, and cost-effective electricity for many years.
Solar energy
is not just a trend-it is the future of sustainable power.
Recent Posts
Solar Panel Types: Comparing Monocrystalline vs. Bifacial Panels to Help Homeowners Choose the Best Option


How To Calculate Holding Costs For Industrial Energy Storage: What Suppliers Don’t Tell You
Steps on How to Parallel and Connect Your Lithium Batteries with Your Inverter BMS
Why Blue Carbon Has the Best Solar Products Compared to Other Brands in the Nigeria Market